반응형
이번에는 React 웹사이트에서 Unity 게임을 WebGL로 빌드하여 웹 게임을 React 프로젝트에 빌드하고 실행하는 방법을 포스팅 하도록 하겠습니다.
먼저 빌드할 웹 게임을 만들어 줍니다.
Unity WebGL Build
간단하게 테스트 씬을 만들어 줍니다.
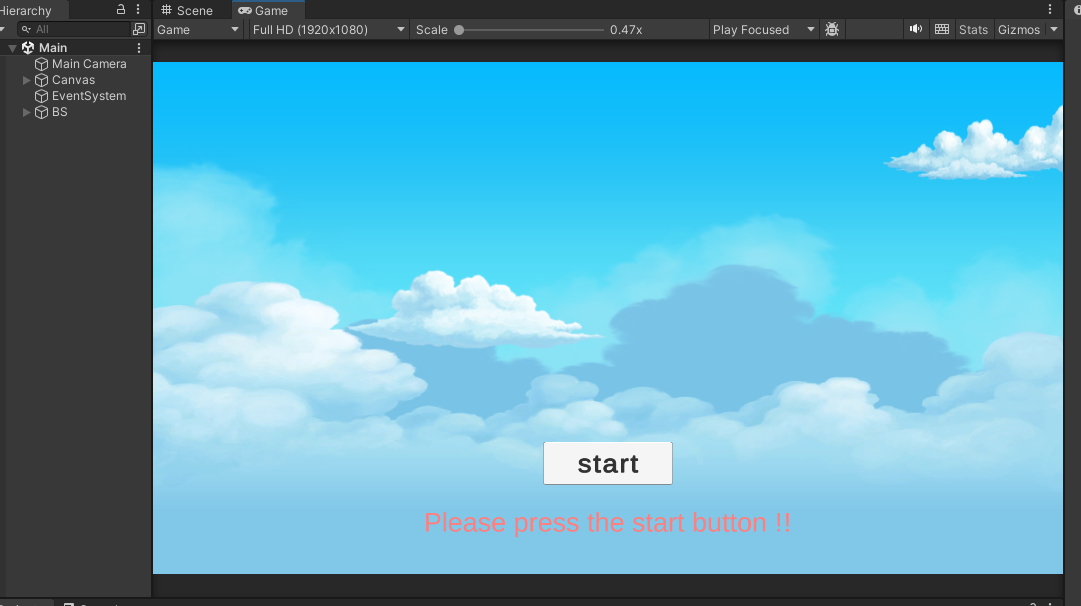
간단하게 버튼과 오브젝트 무빙 스크립트를 넣어 테스트 게임을 만들어 보았습니다.
무빙 스크립트는 다음과 같습니다.
using System.Collections;
using System.Collections.Generic;
using UnityEngine;

public class ObjectMoving : MonoBehaviour
{

    public float speed = 1.0f;
    public float startPos;
    public float endPos;
    public float rotatePoint;
    public float zRotatePosition;
    public GameObject[] sprites;

    public GameObject textArea;
    public float brinkSpeed;

    public GameObject textArea2;

    public IEnumerator TextBrinkEffext()
    {
        while (true)
        {
            textArea.SetActive(true);
            yield return new WaitForSeconds(brinkSpeed);
            textArea.SetActive(false);
            yield return new WaitForSeconds(brinkSpeed);

        }
    }

    public void BtnTest()
    {
        textArea2.SetActive(true);
    }

    public void ScrollEnd(GameObject sprite)
    {
        sprite.transform.Translate(-1 * (endPos - startPos), 0, 0);
    }

    // Start is called before the first frame update
    void Start()
    {
        textArea.SetActive(false);
        StartCoroutine(TextBrinkEffext());
    }

    // Update is called once per frame
    void Update()
    {
        if (sprites.Length > 0)
        {
            for (int i = 0; i < sprites.Length; i++)
            {
                sprites[i].transform.Translate(-1 * speed * Time.deltaTime, 0, 0);
                if (rotatePoint == 1)
                {
                    transform.Rotate(new Vector3(0, 0, zRotatePosition), 1 * Time.deltaTime);
                }

                if (sprites[i].transform.position.x <= endPos)
                {
                    ScrollEnd(sprites[i]);
                }
            }
        }
    }
}
간단한 게임이 완성되었다면
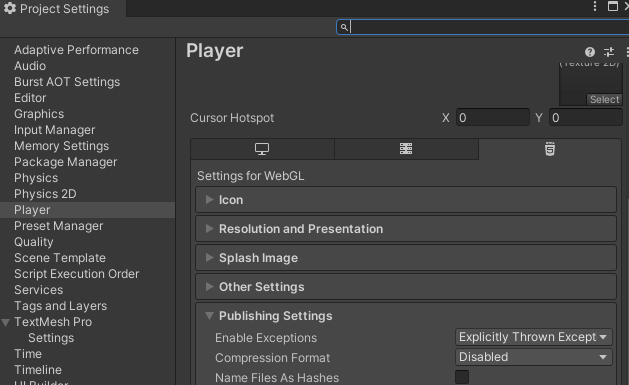
유니티 툴에서 project Settings에서 Other Settings > Active Input Handling을 Input Manager (Old)로 변경합니다. 그리고 Publishing Settings > Compression Format을 Disabled로 변경 해 주고, WebGL로 빌드합니다.
Active Input Handling

Compression Format
빌드가 정상적으로 완료되었다면 아래와 같은 파일이 생성됩니다.

React 설정
unity관련 모듈을 install 합니다.
npm install react-unity-webgl
위 빌드된 유니티 파일을 해당 React프로젝트의 static 폴더(public)에 추가합니다.

해당 React 화면에 유디티에서 WebGl로 빌드된 파일을 연결합니다.
import * as React from 'react';
import { Unity, useUnityContext } from "react-unity-webgl";

function TestApp(){

    const { unityProvider } = useUnityContext({
        loaderUrl: "WebServiceGame/Build/WebServiceGame.loader.js",
        dataUrl: "WebServiceGame/Build/WebServiceGame.data",
        frameworkUrl: "WebServiceGame/Build/WebServiceGame.framework.js",
        codeUrl: "WebServiceGame/Build/WebServiceGame.wasm",
    });

    return(
        <div className="App">
            <Unity unityProvider={unityProvider}
                style={{width: '1500px', height: '800px'}}
            />
        </div>
    );
}

export default TestApp;
테스트

정상적으로 잘 동작합니다.

반응형